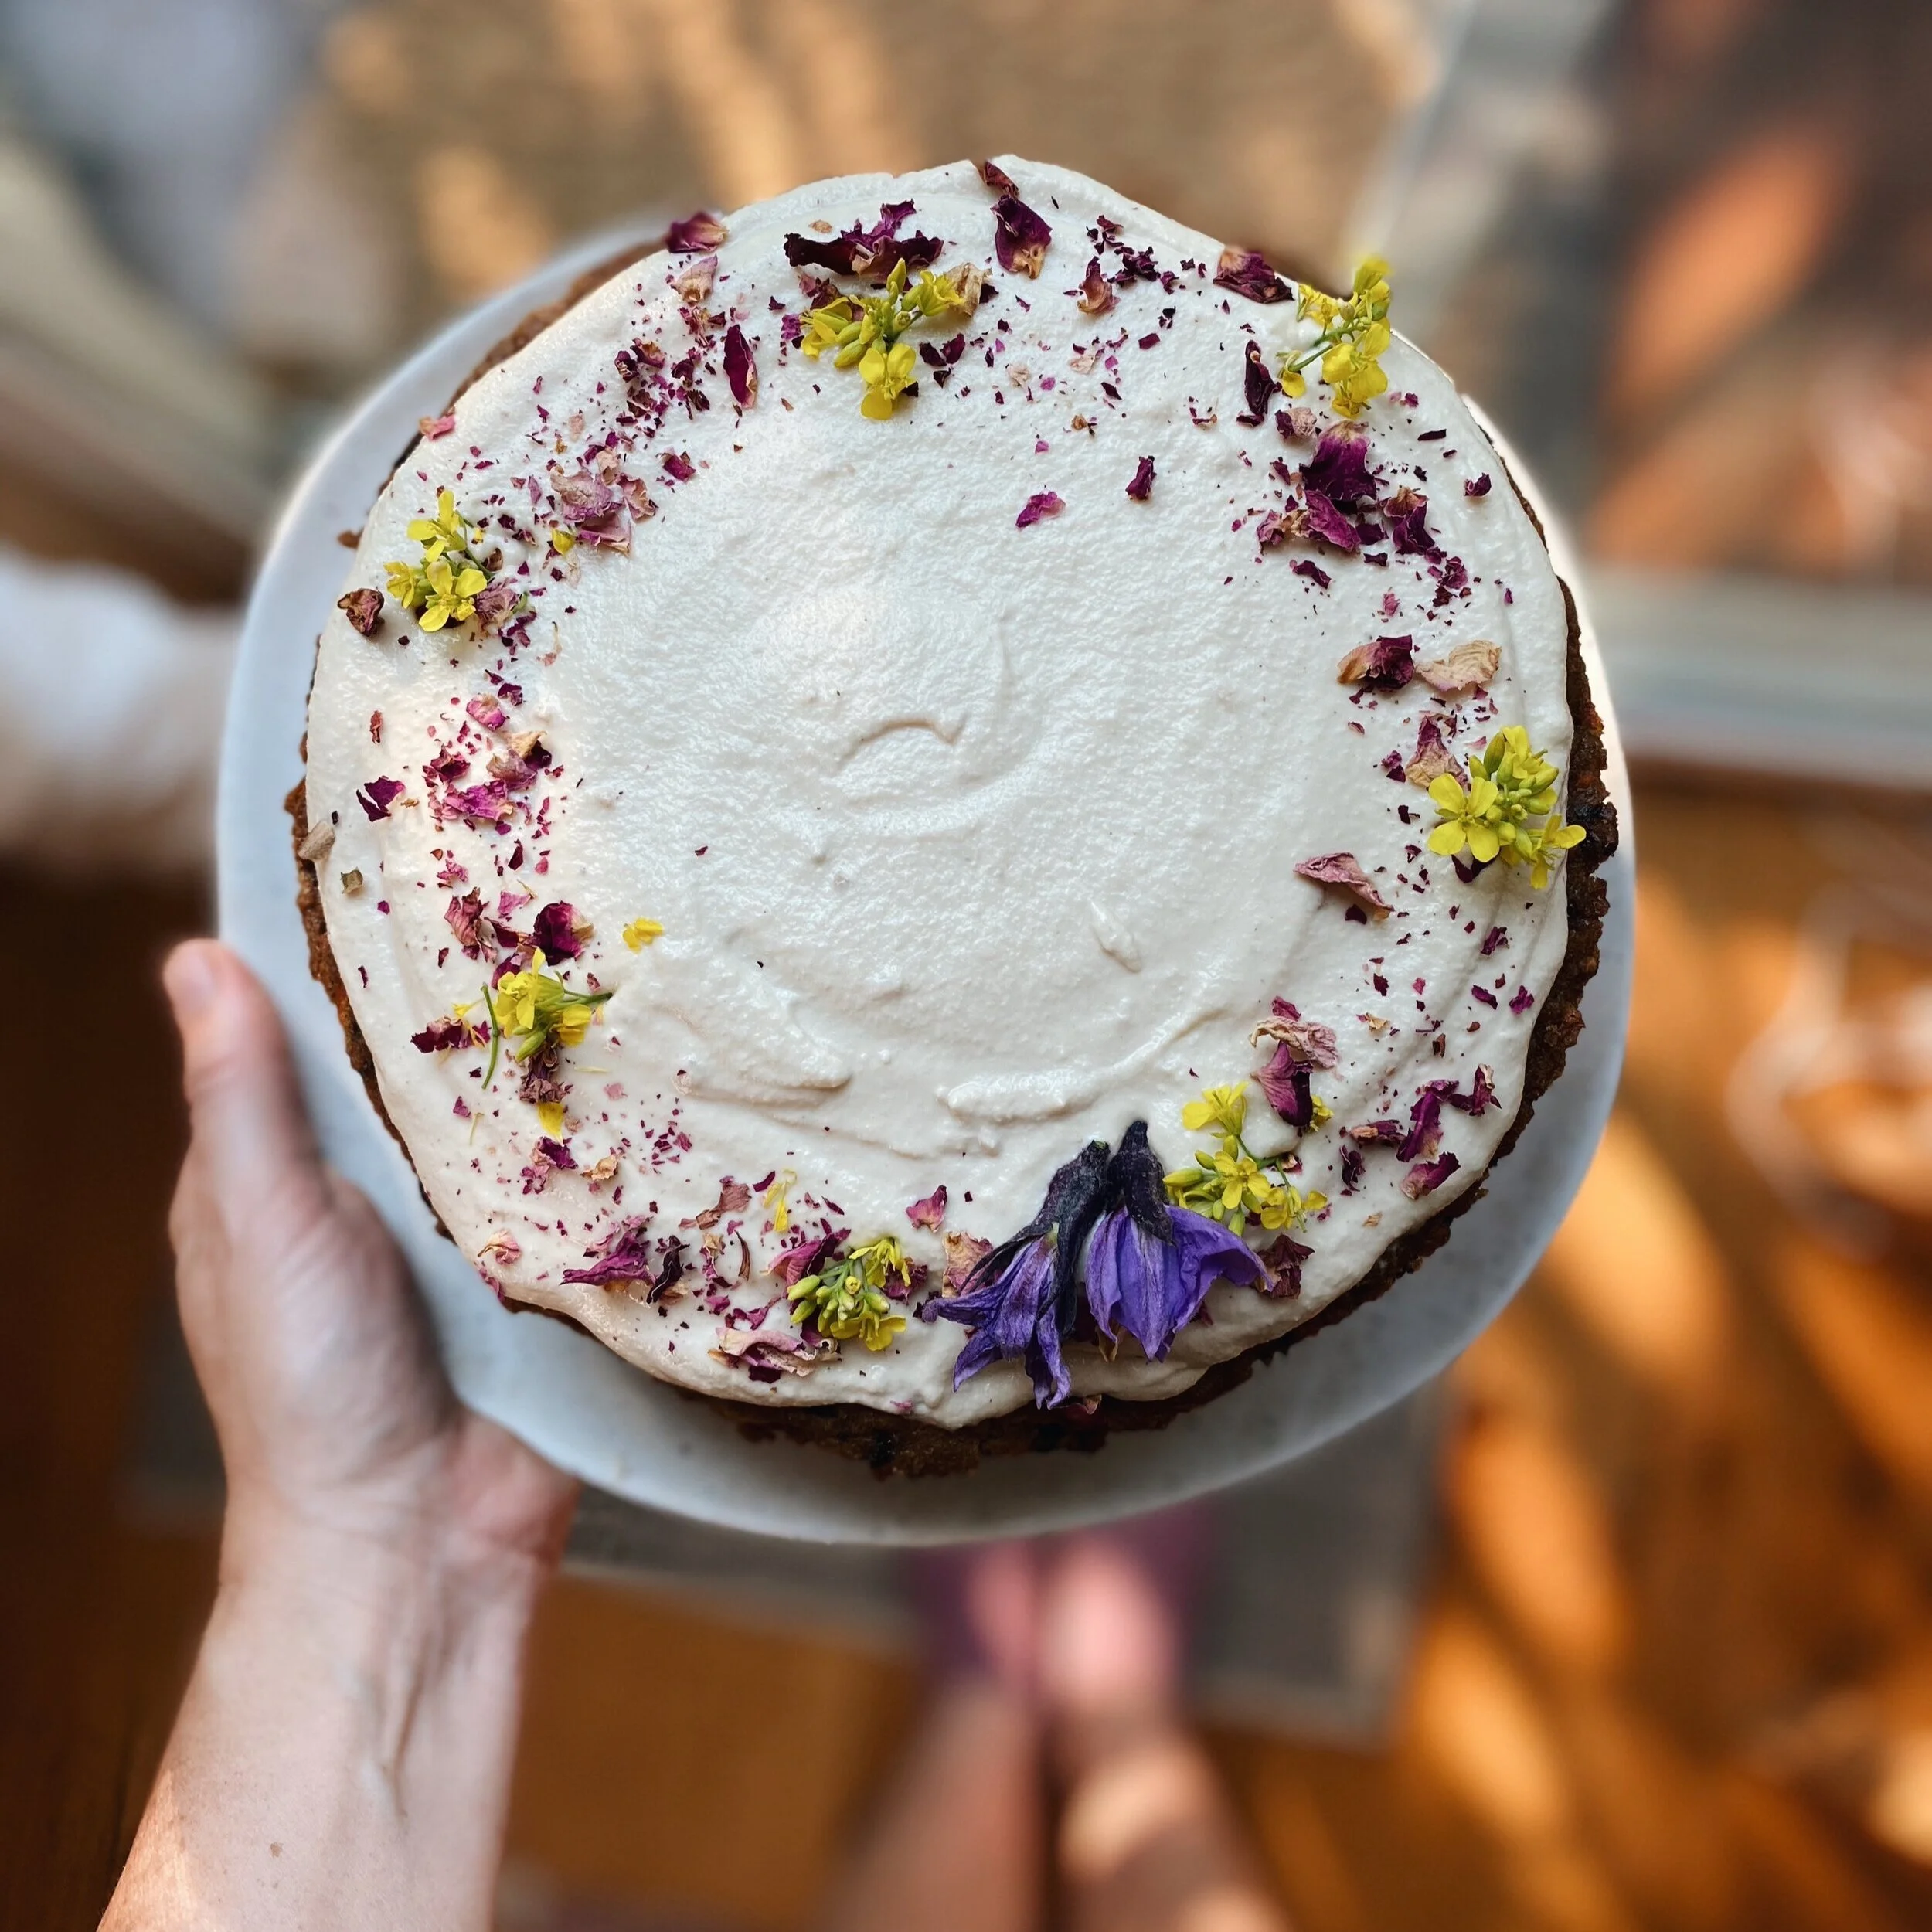
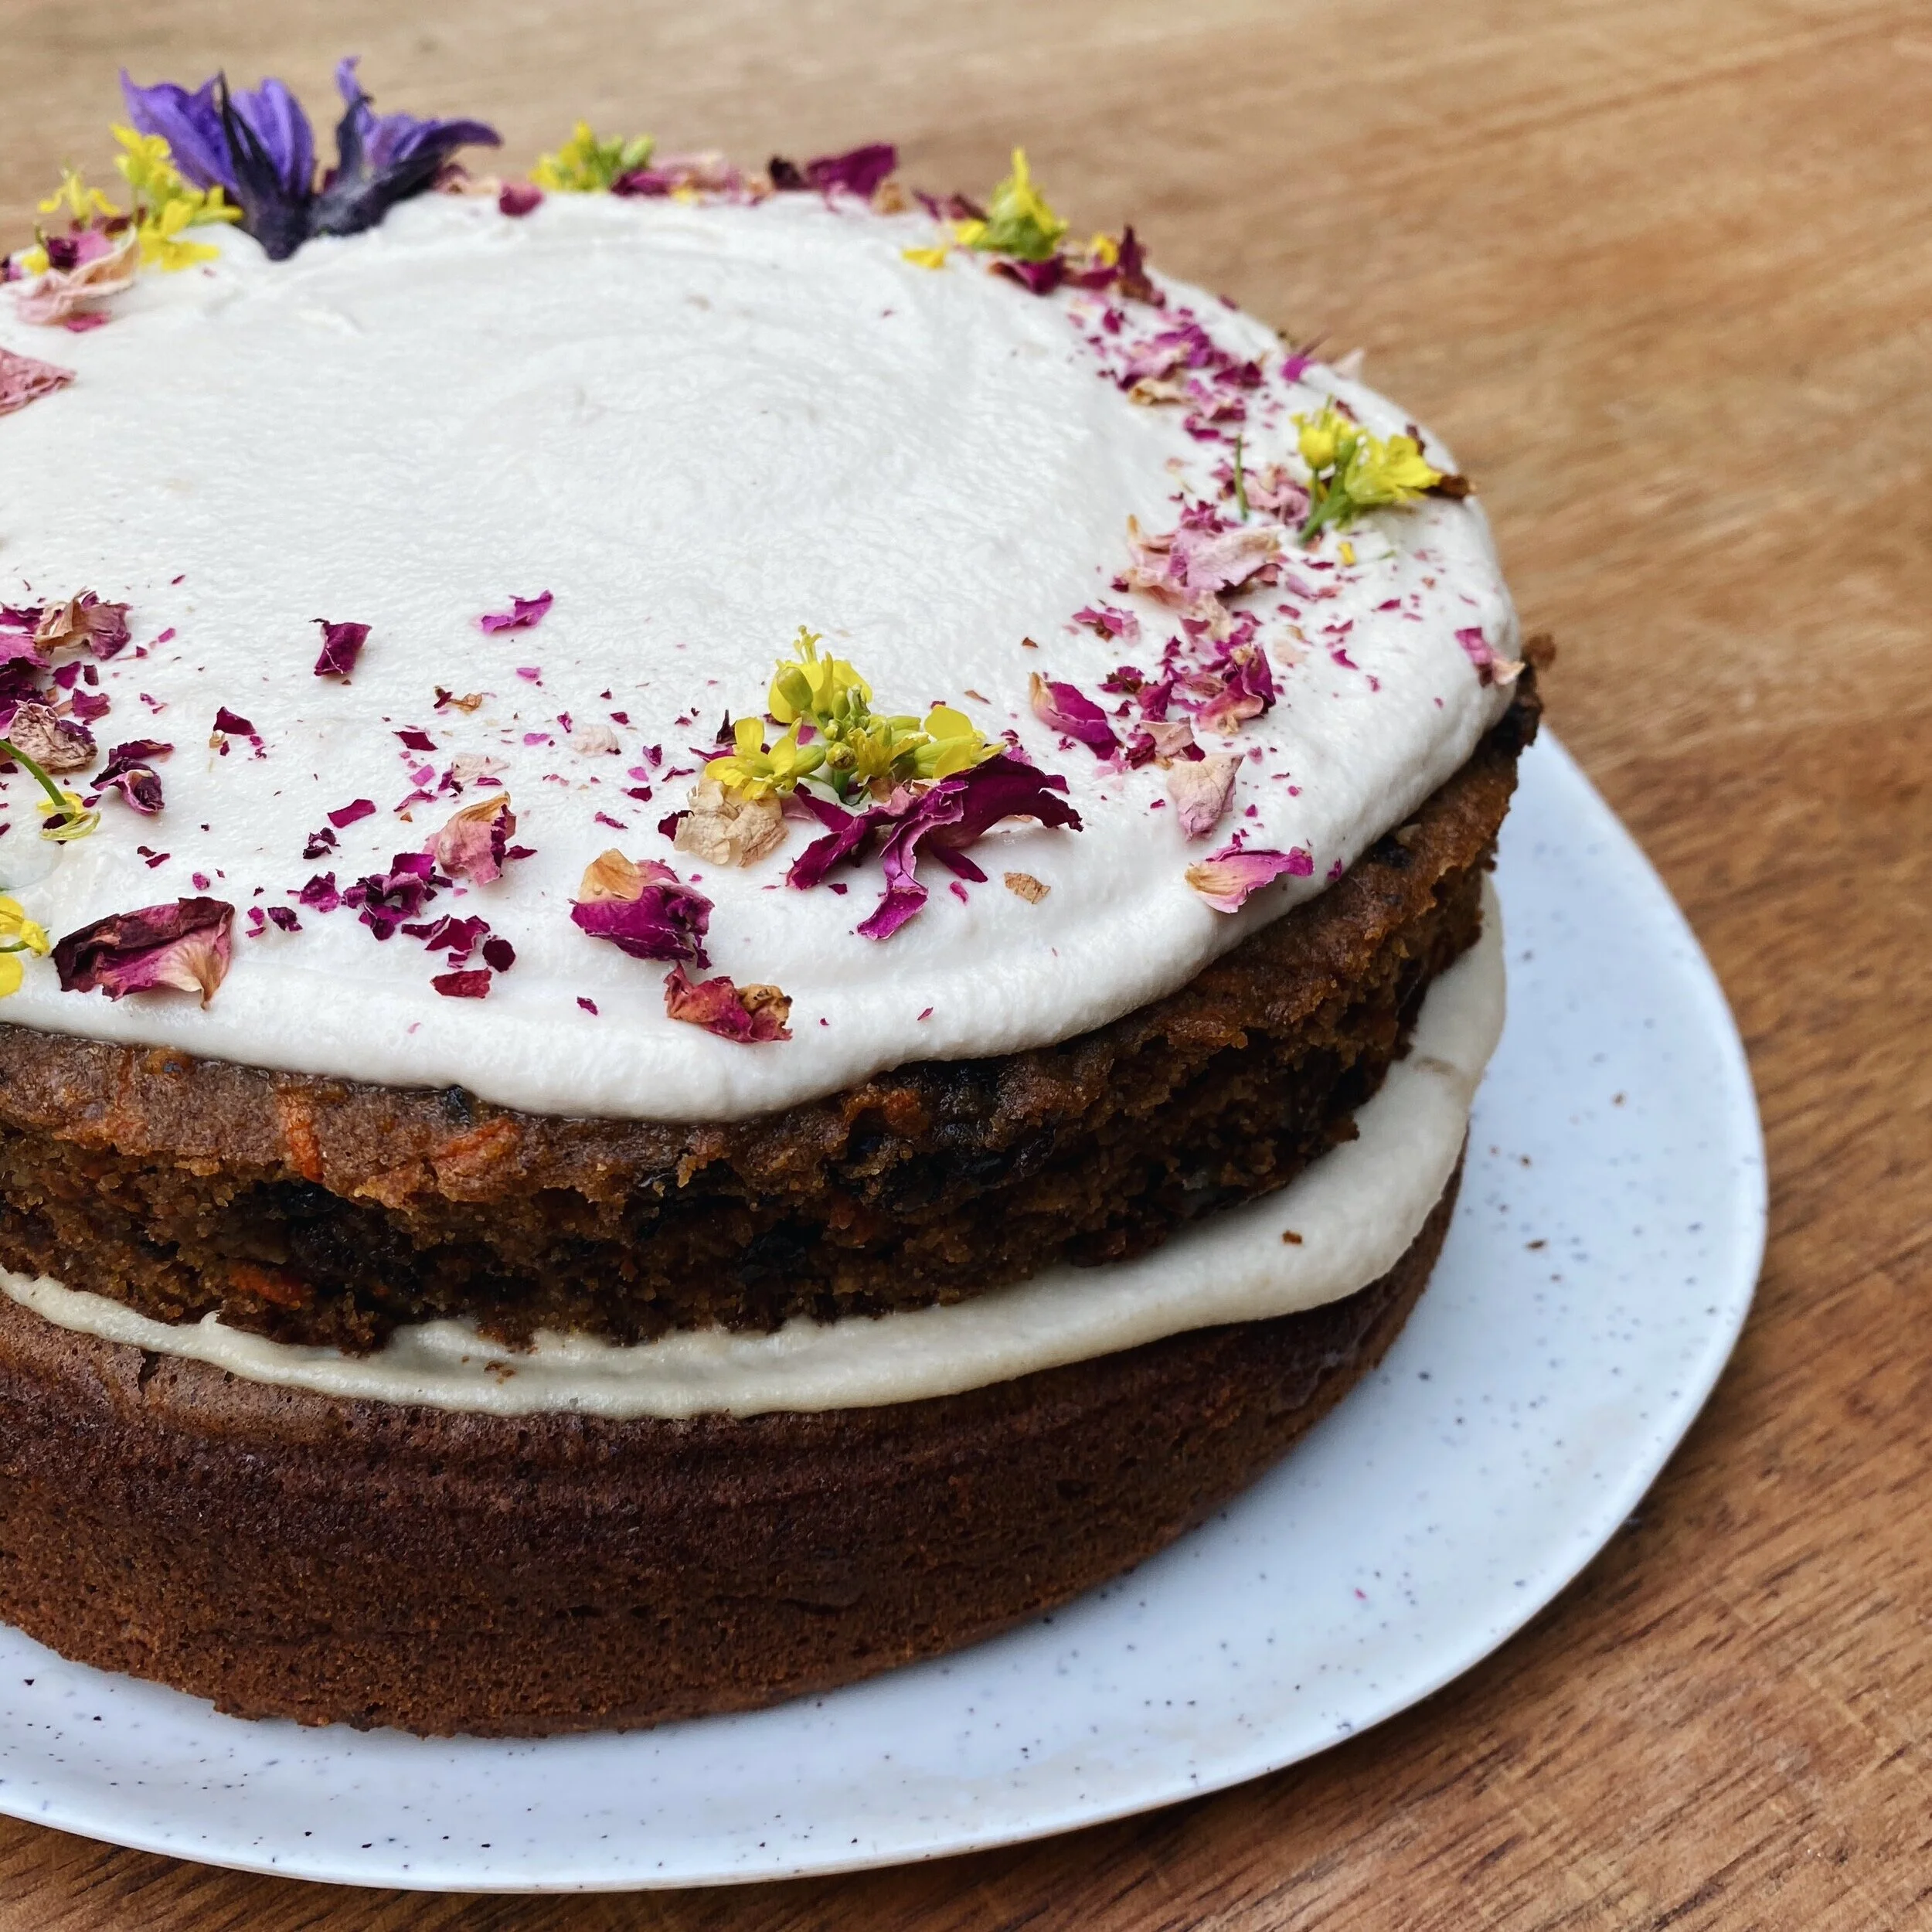
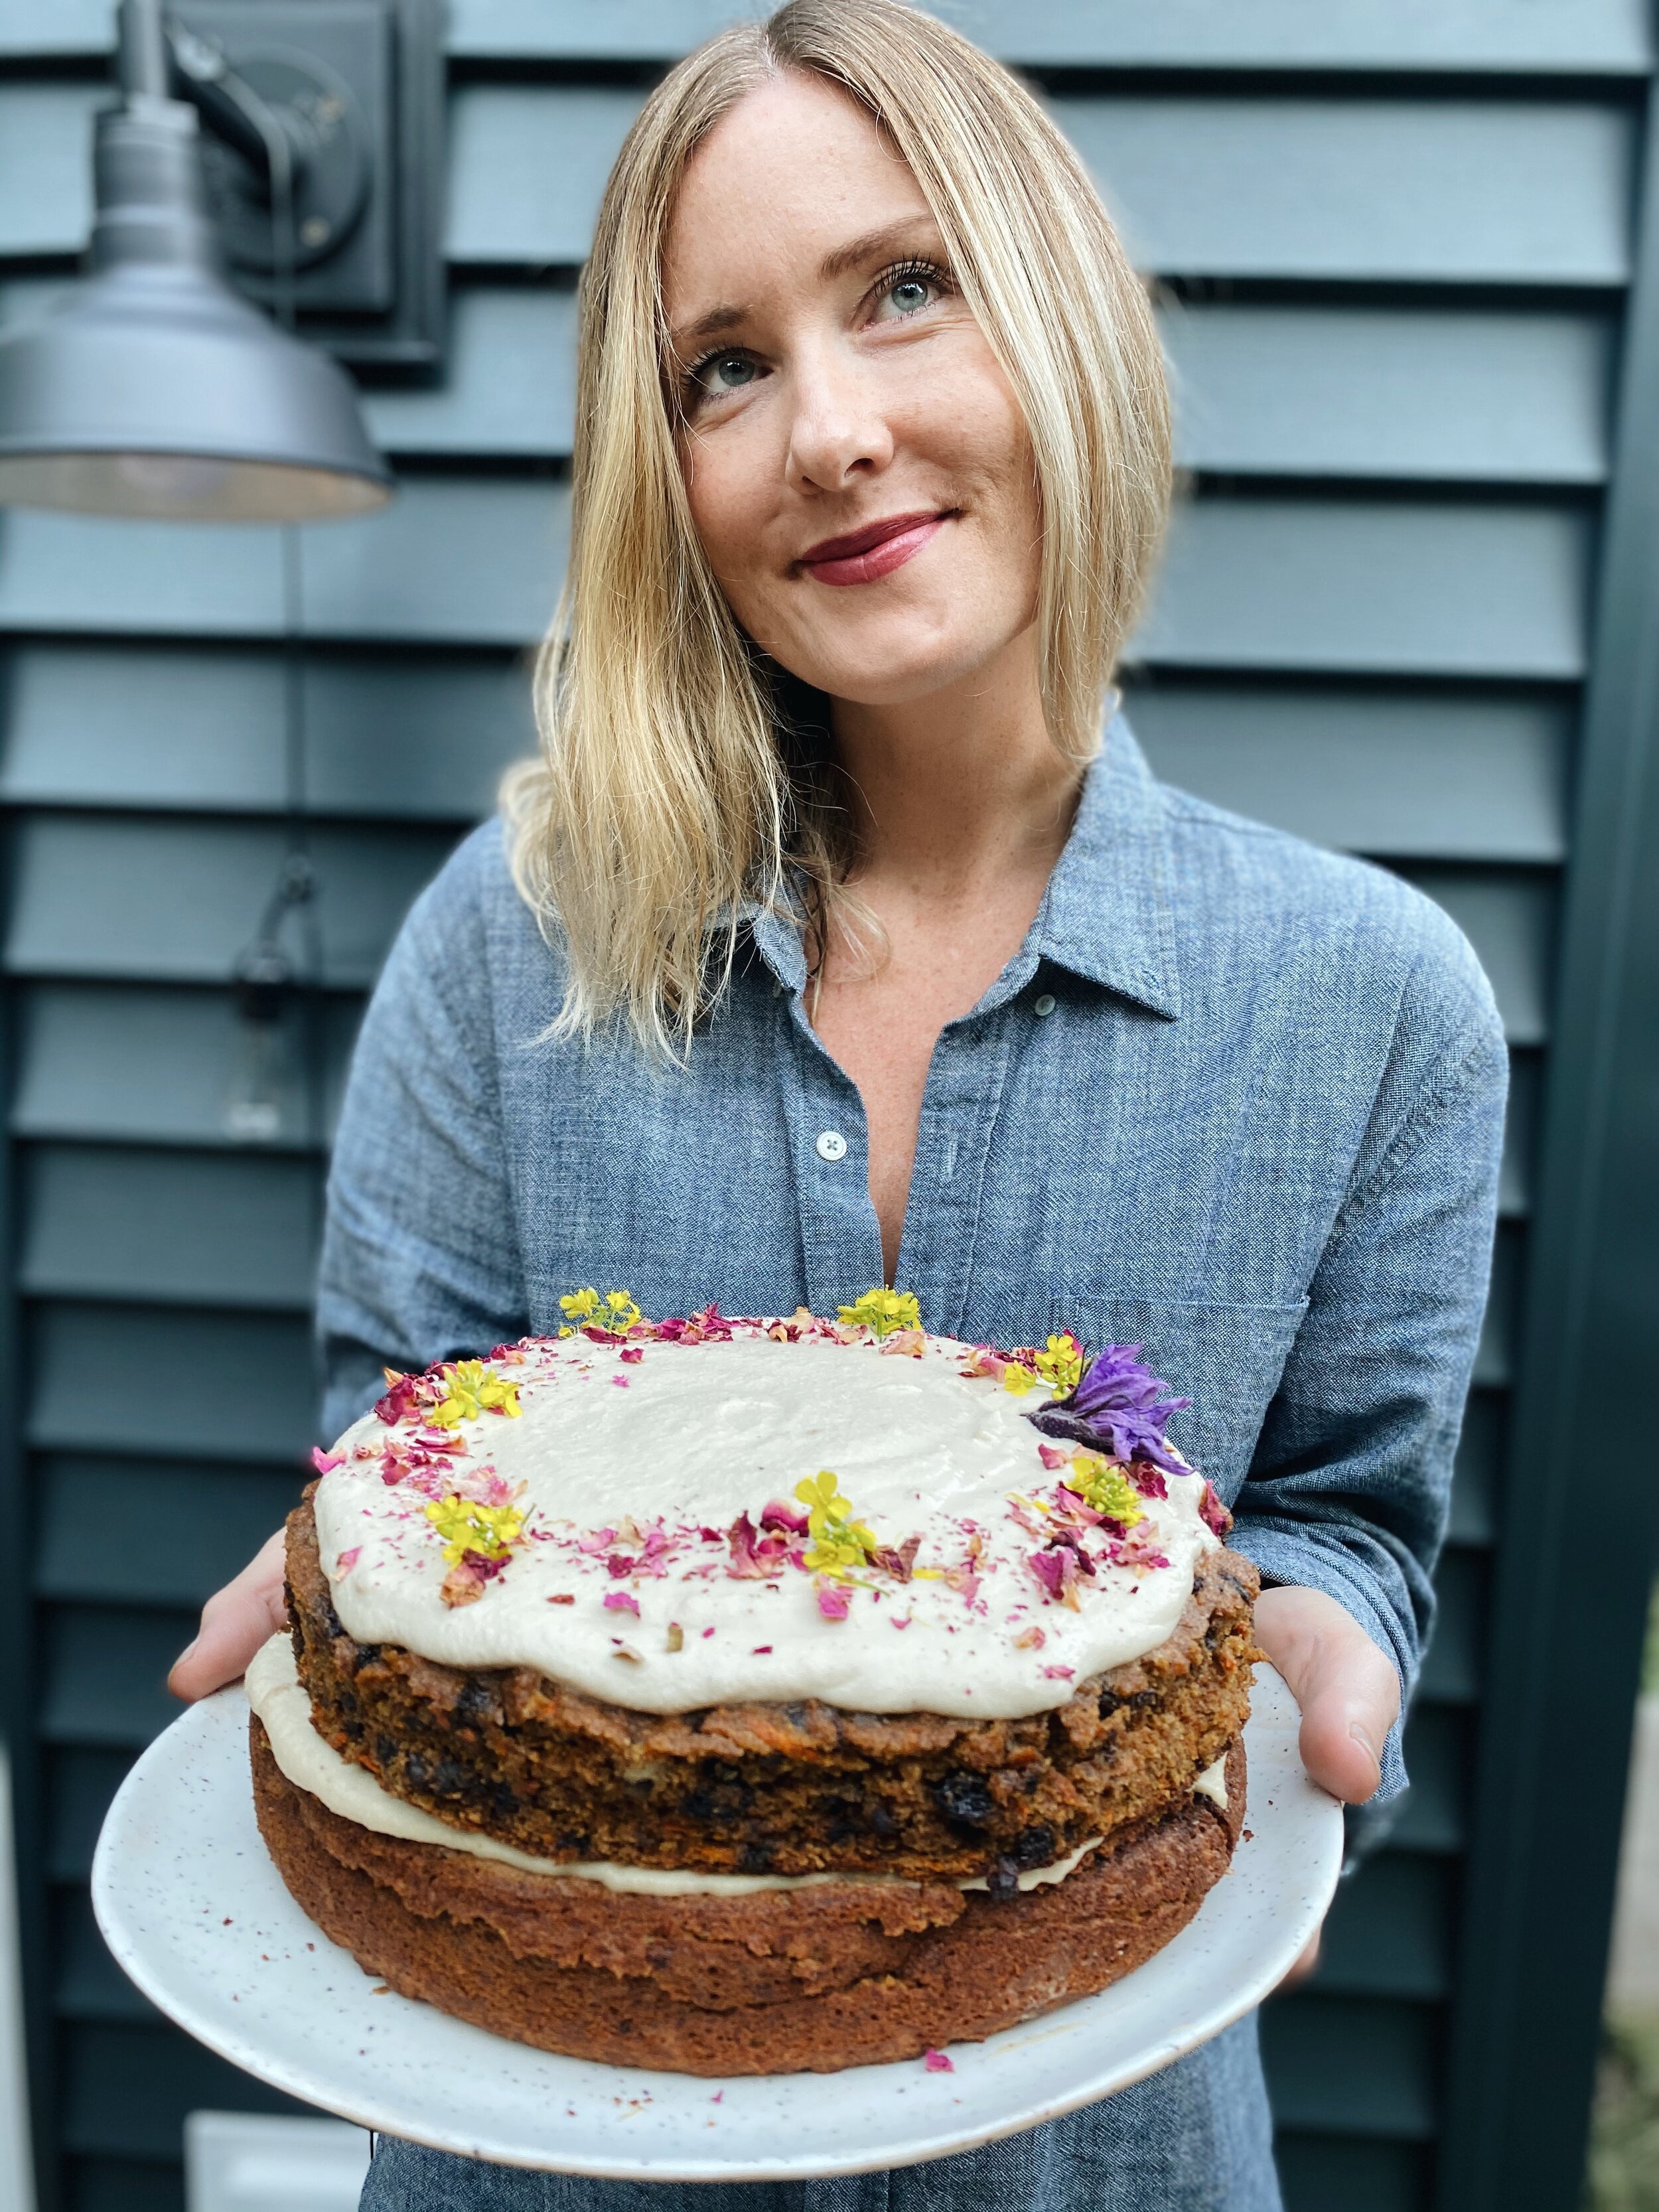
Paleo Carrot Cake (with vegan option!)
For my birthday this year I was really craving carrot cake — and so what better way to spend my 36th year around the sun? Making myself a double layered one! (side note: I was 15 weeks pregnant at this time and so cravings for certain things were feeling very real to the point of obsession).
But enough about me— let’s get to the cake. I detest difficult recipes and so I’m certainly not the person to bake up a batch of croissants (no matter how tempting they seem sometimes, er especially now haha!). Hence, this cake is EASY to make, and if you have a food processor— well— it’s even easier! Phew!
** As always though— for me, baking is meditation and so I try to enjoy the process with feel good music and a good dose of humor for when things don’t quite turn out (like my original beet cake version— which in short: did not taste good!)
DOUBLE LAYERED CARROT CAKE
Yield: 2 x 9” cake pans
Using a food processor or 1 large mixing bowl:
3 c almond meal (sub for tigernut if NF)
1/2 c coconut flour
1 c cassava
3 tbsp dried orange peel (or fresh zest)
1.5 c raisins
1 c chopped walnuts (optional)
3 c grated carrot
2 tsp baking soda
Spices: 2 tsp ginger, 1-2 tbsp cinnamon, 1 tsp cardamon
Mix all together, then add in the following:
6 pasture-raised eggs (sub: Flax or Chia eggs for vegan)
1/2 c EVOO / Avocado or Coconut oil
1 c nut or seed milk (I simply blended 1 tbsp tahini with 1 cup H2O)
3/4 c maple (or sweeten to taste!)
1 tbsp lemon juice (sub ACV)
2 tsp vanilla
Mix it all up into a nice creamy batter — **if it feels too ‘dough’ like, add in some more seed/nut milk. OR, if it’s too ‘wet’, add in a little extra almond flour.
Pre-heat the oven to 350F (180C)
Grease (I used a coconut oil) and line two cake pans with baking paper circles at the bottom (this just makes it soooo much easier to remove after baking!)
Divide batter between pans evenly and bake at 350F for around 35 minutes — test with a toothpick or knife— if it comes out clean, they’re ready!
Allow to cool down completely before removing from the pans..
Now you can get working on the frosting! Which let’s be honest here— is pretty much the best part.
Vegan Cream Cheese Frosting
For this one I used Miyoko’s plain cream cheese as it’s SO delicious and so easy (but lots of other great plant based brands out there now! And of course if real cheese is your thing, you can always use that!)
I also included a recipe for a nut-free coconut yogurt frosting, that’s totally delicious and easy to make!
Option 1: Vegan Cream Cheese Frosting
1 c soaked cashews (I rinse and soak them in boiling water for at least an hour— but overnight in filtered water is ideal, just be sure to rinse really well!)
2 tsp vanilla
2 tbsp lemon zest
1/3 cup maple syrup
Blend all the ingredients together in a food processor until nice and creamy (or a high speed blender works too). Be sure to taste test and add in more maple or lemon as desired! Give it a little cool-down time in the fridge (maybe 10-15 mins?) — then slather it between the two cake layers, and on top— and the sides too if you like! Decorate with dried orange/lemon peel, fresh edible flowers, berries— whatever you like!
Option 2: Nut-Free Coconut Yogurt Frosting
3 cans of full-fat coconut Milk/ or cream -- refrigerated for at least 4-6 hours prior— sorry this one is a plan ahead recipe!)
1.5 c Anita's Coconut Yogurt or any good quality unsweetened coconut yogurt
1/4 c maple syrup
2 tbsp c semi-melted coconut oil
2 tbsp lemon zest
1 tsp vanilla extract
1/4 tsp pink salt
I like to keep everything as simple as possible when it comes to baking, so for simplicity, simply follow these steps and you can't go too wrong!
Open the chilled cans of coconut milk (careful not to shake!) and scoop out the cream which hopefully has separated and is sitting at the top? (if you used coconut cream, then you should be good to go]. Save the coconut water in the bottom (I poured it into a mason jar for future smoothies, etc).
Combine the coconut cream, coconut yogurt, and all other ingredients in a chilled* mixing bowl (**just place the bowl in the freezer for about 15 minutes-- tea break?)
Using an electric mixer (ideally, though you can also just get a really good arm workout and whip it by hand...) mix ingredients together on a high-speed setting for about 1-2 minutes, until it's thick and creamy.
Taste-test. Is it sweet enough? Creamy enough? If not, add in some additional sweetener, and/or a little more coconut yogurt, or coconut oil. [I added 1/2 tsp of unsweetened chai tea powder for a little spice] Play a little. Whip it 30 more seconds.
Slather it on the cake, starting with the middle layer, then the top and sides (if you want, I skipped the sides!)
Refrigerate for at least 30 minutes before serving! BUT you do you.
XOXO
If you ever have any questions or need help, send me a quick DM @citrinekitchen !


